Homemade milk kefir is a fermented milk drink made with milk kefir grains. It tastes tangy, kind of like drinkable yogurt, but it’s packed with probiotics and gut-friendly benefits.
Milk kefir is one of the most probiotic-rich foods you can make at home. One cup can contain 60+ different strains of beneficial bacteria and over 100 billion CFUs (colony-forming units). These probiotics help:
- Support digestion and nutrient absorption
- Balance gut bacteria
- Reduce bloating and discomfort
- Fight off harmful microbes
If you’re working on gut health, digestion, or even balancing blood sugar, milk kefir is one of the easiest and most natural things you can add to your diet.’
I actually healed my gut with milk kefir and one other ingredient!
Why Milk Kefir Is Good for You
Here’s what makes milk kefir so amazing:
- Naturally rich in probiotics—way more than regular yogurt
- Supports gut health and microbiome balance
- May help with bloating and constipation
- Contains protein, calcium, and B vitamins
- Supports immune health
Basically, it’s a daily, natural probiotic drink that doesn’t require a supplement.
Is Milk Kefir Lactose-Free?
Not completely, but it’s much lower in lactose than regular milk. During fermentation, the kefir grains consume most of the lactose, which is why many people with lactose sensitivity can tolerate it just fine.
If you’re extremely sensitive, you can try fermenting it longer or doing a second ferment to reduce lactose even further.
Milk Kefir & Casein Sensitivity
If you’re sensitive to casein (milk protein), a second ferment can help break it down more. It won’t remove it completely, but it often makes kefir easier to digest.
Where Did Milk Kefir Grains Come From?
There is actually a pretty cool history about them if you want to read about it! They have actually only been relevant world wide for the last 100 years because they were kept so secret for so long.
How Much Kefir Should You Drink?
If you’re new to probiotics, start small. Drinking a full glass right away can sometimes cause bloating. Start with 1 tablespoon to 1/4 cup per day. Then slowly increase to 1 cup per day. This gives your gut time to adjust.
Just a heads up—some of the links here are Amazon affiliate links. If you buy something through them, I might earn a small commission (it doesn’t cost you anything extra). I only link stuff I’d actually recommend, not random junk.
What You’ll Need
- Quart-sized mason jars
- Milk kefir grains (I personally get mine from Yemoos Cultures)
- Milk (whole milk works best for creamier kefir)
- Funnel (I prefer the canning ones)
- Strainer
- Marker (labeling jars is life-saving!)
How to Make Milk Kefir (Step-By-Step)
- Add grains to a jar
Place your milk kefir grains into a clean quart-sized mason jar. - Add milk
Fill the jar to about the shoulder with milk. - Cover loosely
Put the lid on, but don’t tighten it. Fermentation produces gases, and you don’t want an explosion on your counter. - Let it ferment
Leave it on the counter for 24–48 hours, depending on your kitchen temperature. - Check for doneness
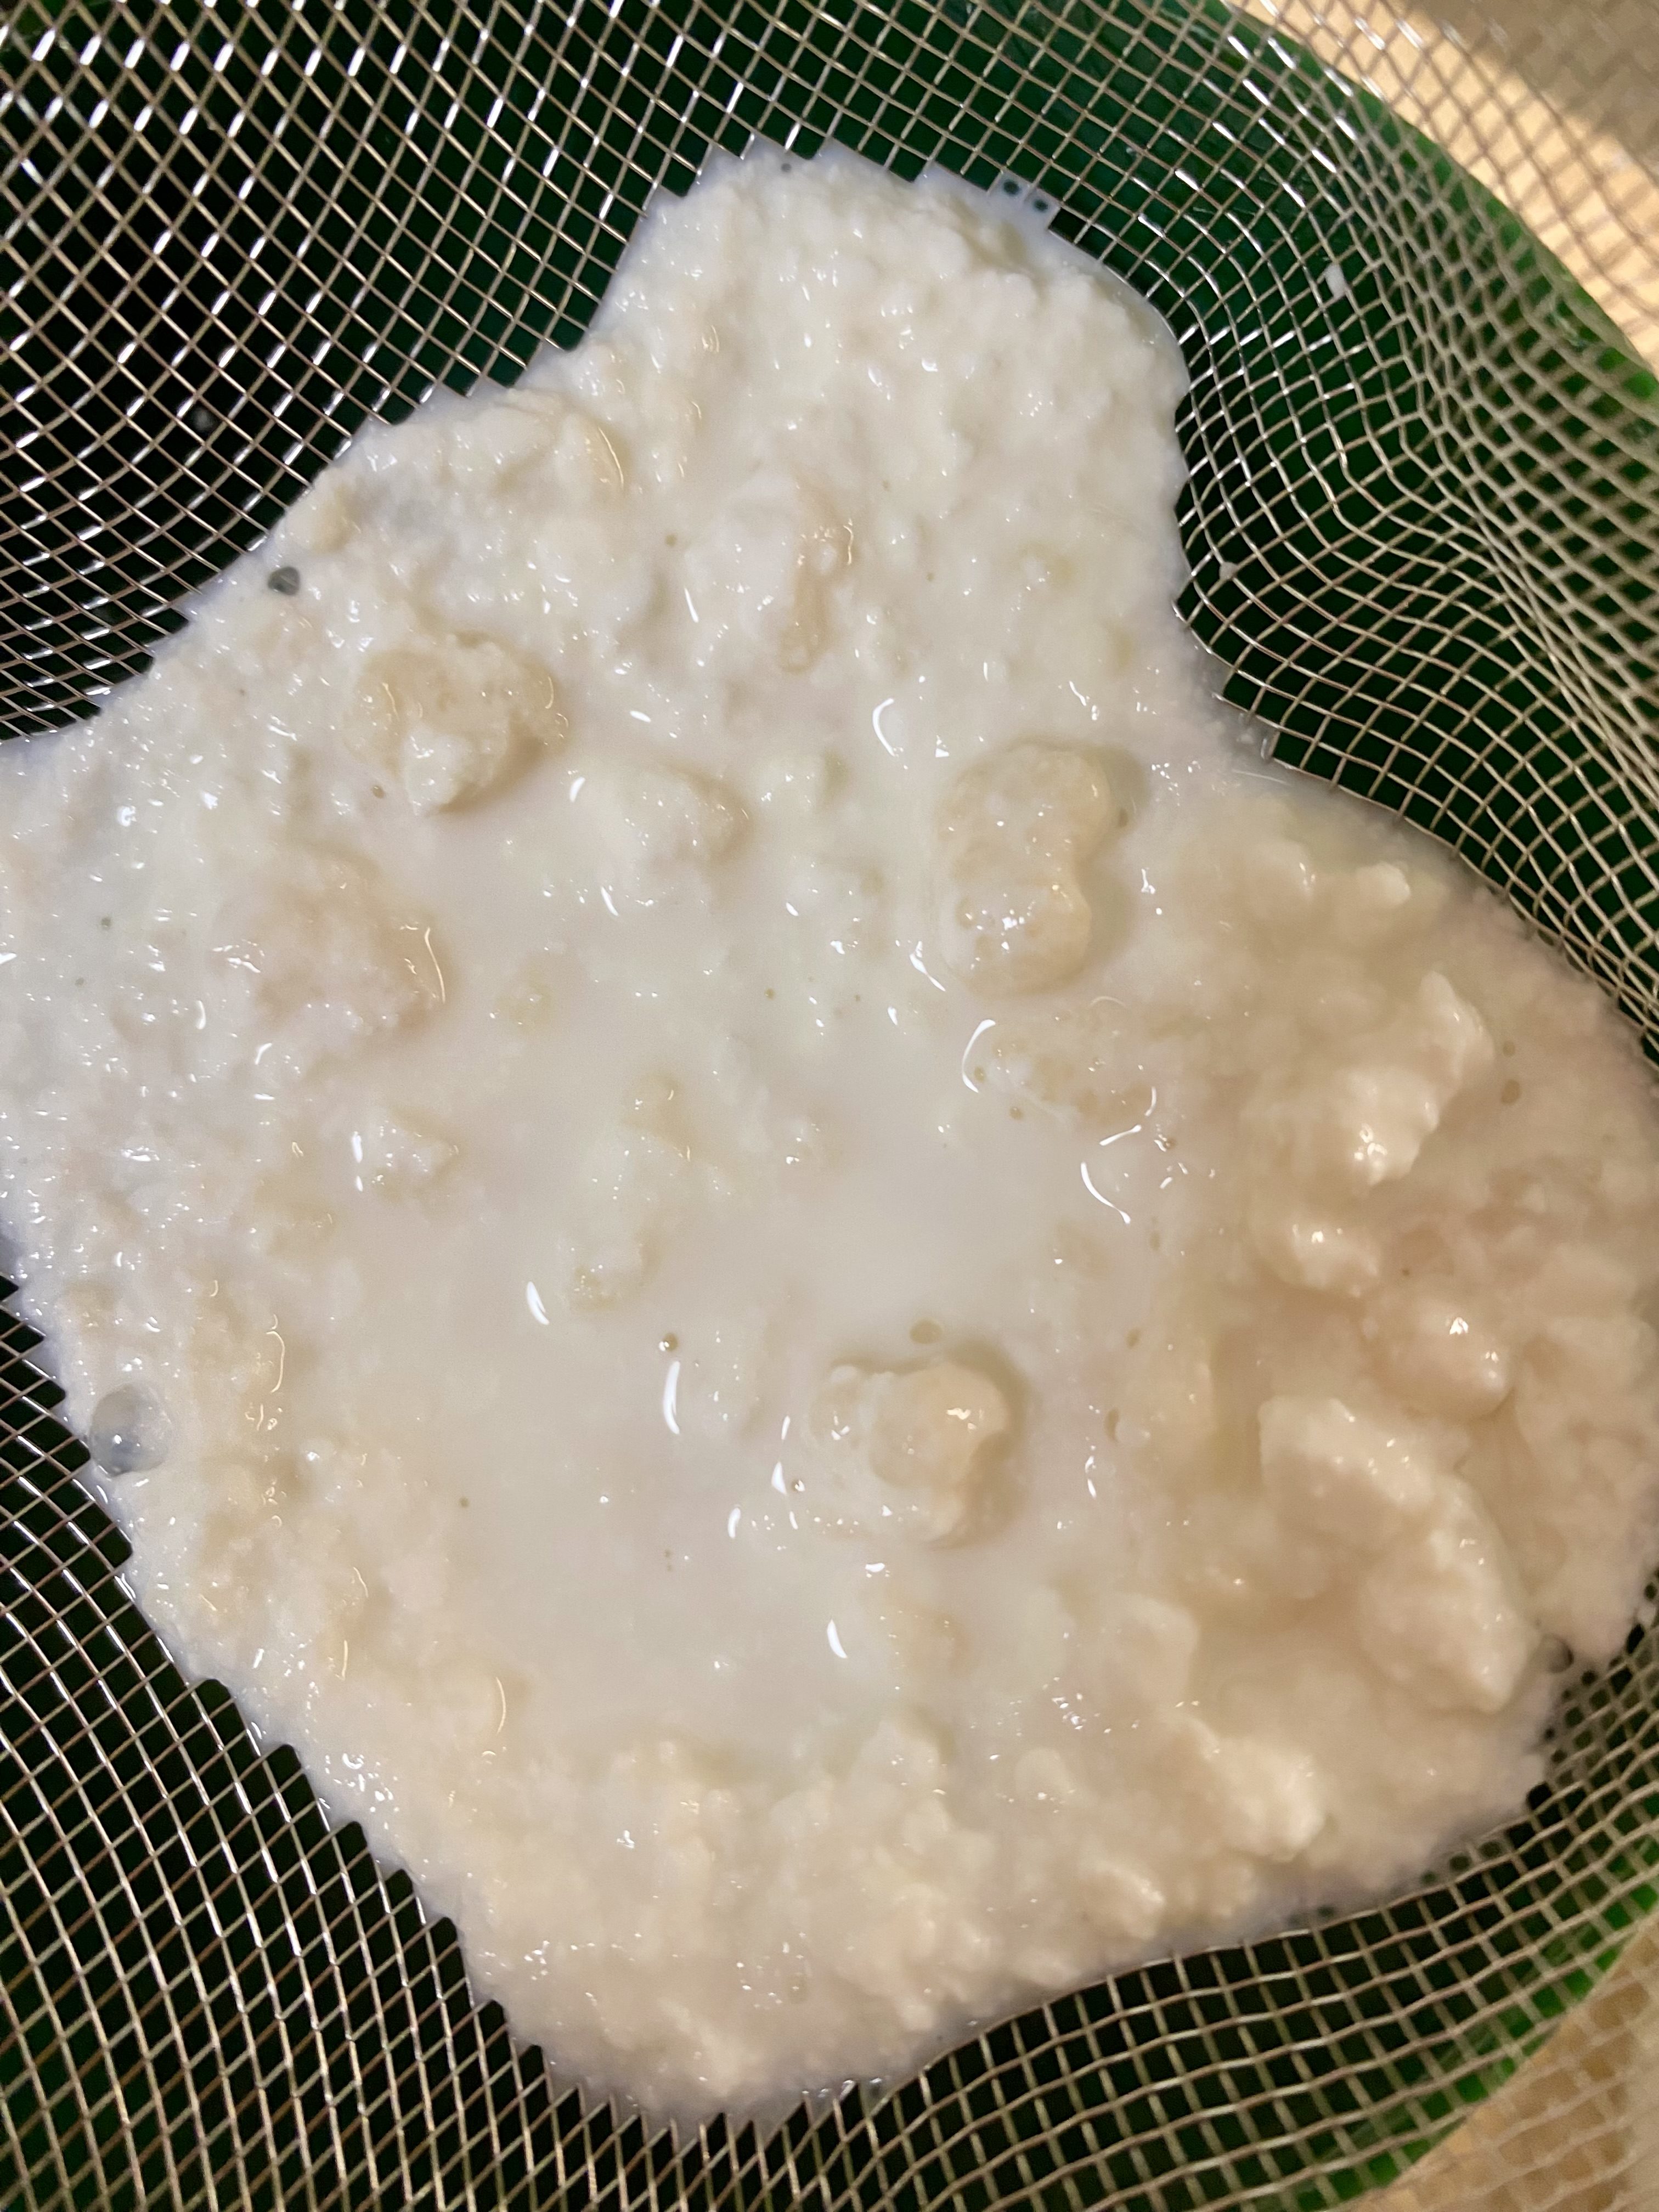
The kefir is ready when you see slight separation, thicker curds, and some liquid (whey) forming. - Strain the grains
Pour everything through a strainer to separate the grains from the liquid. - Start your next batch
Put the grains into a fresh jar of milk to start your next batch. - Drink or store your kefir
The liquid you strained out is your finished milk kefir, ready to enjoy!
Storage Tips
- Store finished kefir in the fridge for up to 1 week, after that it gets a little too tangy (it’s still technically good though)
- Keep grains in milk in the fridge if you’re taking a break from fermenting. They are a lot like a sourdough starter, you’re not just gonna kill it from letting them sit in the fridge for a few months.
- Always label your jars (“kefir” vs. “grains”) to avoid confusion
What Happens If You Over-Ferment Kefir?
Don’t throw it out! Over-fermented kefir will be more tangy and separated, but you can still:
- Strain it into kefir cheese
- Drink it (if you like it strong)
- Blend it into smoothies
- Use it in baking
Too Much Extra Kefir?
- Use some in cooking, simply replace milk or buttermilk with kefir. Milk Kefir waffles is a great place to start!
- Use it to bake kefir bread with, it’s a lot like a sourdough starter
- Use it in your garden, it adds amazing nutrients to the soil
- Give some to your pets!
Let me know in the comments if you try out making milk kefir! If you have any issues, be sure to read my troubleshooting milk kefir post.


Leave a Reply